


Braving the Elements
27.06.2025
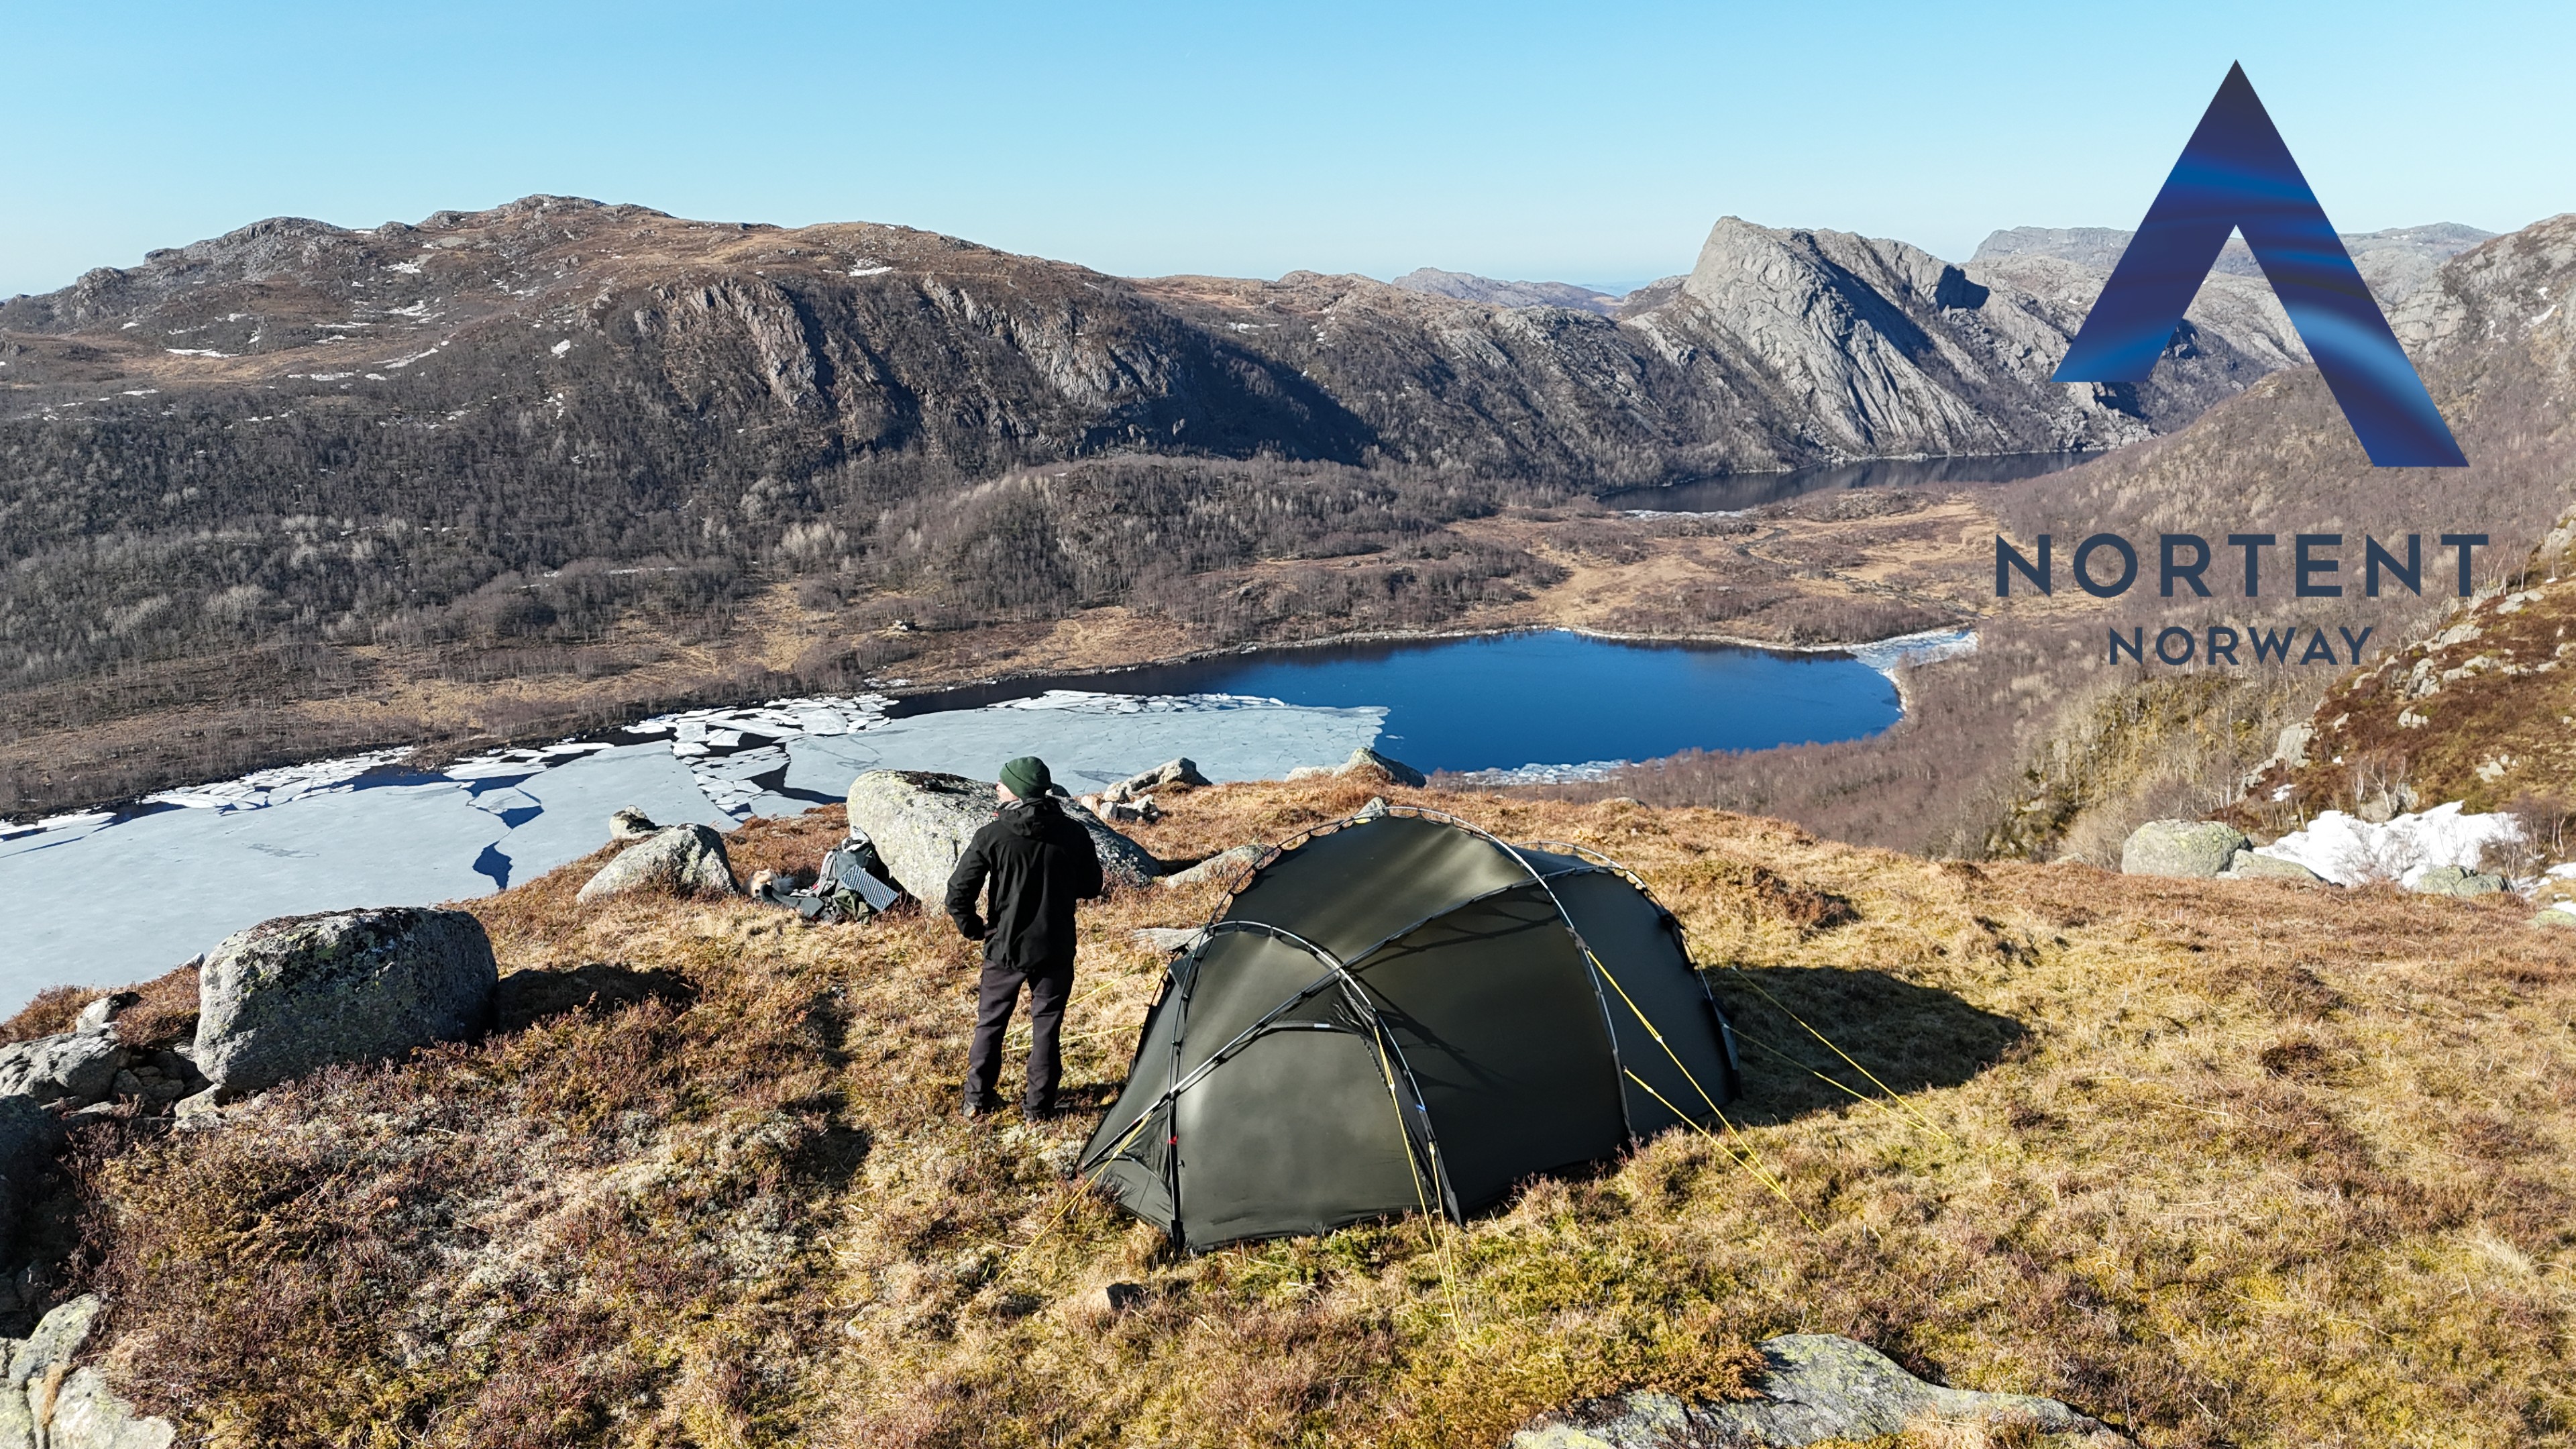
How to pitch your nortent in strong winds
Camping in the wild often means facing unpredictable weather. A sudden gale can turn a peaceful night under the stars into a challenging ordeal. But with the right gear and knowledge, you can confidently set up your shelter and ride out the storm. At Nortent, we design our tents to be your reliable sanctuary in the harshest conditions. This guide will walk you through the essentials of pitching your tent in strong winds, with a special focus on the unique advantages of our Vern, Ly, and Varde models.
The Nortent advantage: Engineered for the extreme
Before you even start pitching, your success in high winds depends heavily on your tent's design. We pride ourselves on creating tents that are not just shelters, but fortresses against the elements. Here’s what sets Nortent apart:
-
Aerodynamic Shapes: Our tents are designed to have low profiles and sleek lines. This allows wind to flow over and around the tent, rather than pushing against flat, broad surfaces. The result is less strain on the fabric and poles.
-
Premium Materials: We use durable Ripstop Silnylon for our flysheets, which has a high tear strength and is waterproof. For critical stress points, we reinforce our tents with Dyneema, considered the world's strongest fiber.
-
Robust Pole Systems: We utilize high-quality aluminum poles that offer an excellent strength-to-weight ratio. Many of our models also feature the option of "double poling"—using a second set of poles for maximum stability in extreme weather.
-
Secure Anchoring: A tent is only as strong as its anchor points. Our tents come with numerous guyline points and strong, reliable pegs to secure your shelter firmly to the ground.
Nortent in the wind: A closer look at Vern, Ly, and Varde
While all our tents are built to withstand tough conditions, some models have specific features that make them excel in high winds:
-
Vern: The Vern series is a testament to aerodynamic efficiency. Its structure is inherently strong, and with multiple anchoring options, it can be secured from all angles. The Vern has been tested in real-world wind speeds of at least 45 mph (20 m/s). For those venturing into the most extreme conditions, the option to double pole the Vern provides an extra layer of security and peace of mind.
-
Ly: The Ly series features a tunnel design, which is renowned for its excellent performance in windy conditions when pitched correctly. The key is to orient the narrow end of the tent into the wind, allowing it to cut through the gusts. The Ly’s pole sleeves are made from a thick, durable fabric that evenly distributes the wind's force along the entire length of the poles, preventing stress from concentrating in one spot. Like the Vern, the Ly also has a double-poling option for expedition-level stability.
-
Varde: The Varde is designed as a robust and freestanding tent. Its strong frame can stand firmly in the wind, even before all guylines are deployed. However, in strong winds, we always recommend using every single guyline to ensure maximum stability and to protect the tent structure from unnecessary strain. The Varde has been tested in the mountains in wind speeds up to 55 mph (approx. 25 m/s), but of course, this performance assumes the tent is pitched correctly.
Step-by-Step: Pitching your tent in high winds
-
Choose your site wisely: The best defense against wind is to avoid its full force. Look for natural windbreaks like rock outcroppings, dense trees, or a dip in the terrain. Be mindful of potential hazards like dead branches overhead.
-
Point into the wind: Orient the tent so that its narrowest and most aerodynamic profile faces directly into the wind. For tunnel tents like the Ly, this means the short end should face the wind. For dome tents like the Vern, the lowest and most sloped side should take the brunt of the gusts.
-
Stake down first, poles second: This is the golden rule of pitching in wind. Unpack your tent and immediately stake down the windward side (the side facing the wind). A securely staked-out base will prevent the tent from becoming a giant kite once you introduce the poles.
-
Careful with the poles: Assemble your poles and, keeping them low to the ground, insert them into the pole sleeves or clips. When raising the tent, do so slowly and deliberately. For tents with clips, like the Vern and Varde: This is where a specific technique provides a huge advantage. After inserting the pole tips into their sleeves, begin attaching the clips starting from the bottom and working your way up towards the top of the pole. By clipping from the bottom up, you secure the base of the tent first and gradually raise the structure in a controlled manner. This method ensures a stable pitch and minimizes the "sail effect" of flapping fabric, keeping the wind from disrupting this critical phase of the setup.
-
Guylines are not optional: In strong winds, guylines are a critical part of the tent's structure. Use every single one. Extend them out at an optimal angle (usually 45 degrees) and make sure they are taut. This will brace the poles and prevent the fabric from flapping violently, which can lead to damage over time.
-
Practice makes perfect: Don't wait for a storm to learn these techniques. Take your Nortent out to a local park on a windy day and practice setting it up. Familiarity with your gear is your best asset when the weather turns.
Ride out the storm in confidence
Facing strong winds can be an intimidating part of any adventure. But with a Nortent tent designed for the elements and the proper technique, you can create a safe and secure haven. By understanding the principles of wind resistance and the specific features, you’ll be prepared to not just endure the weather, but to thrive in it.